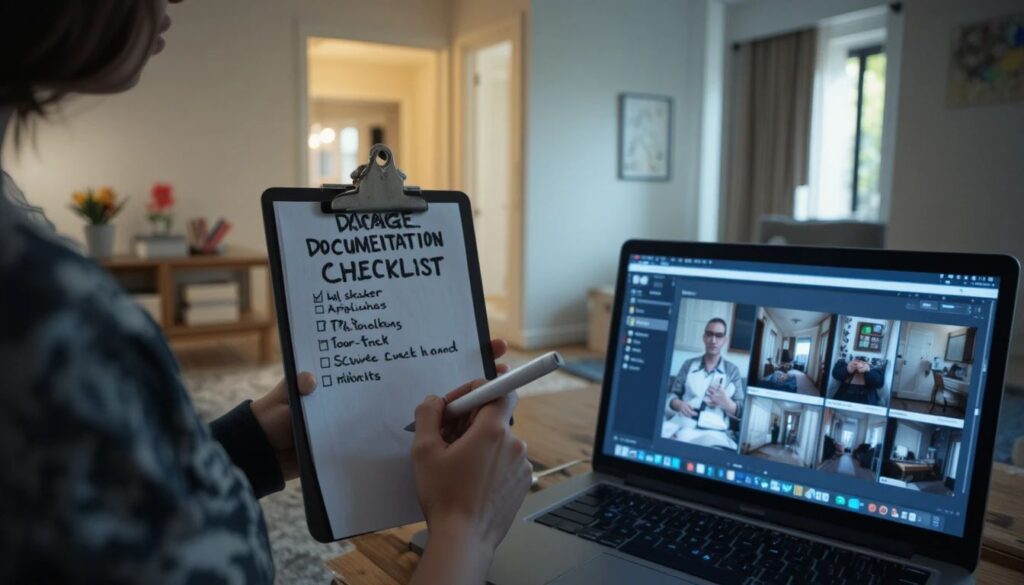
This is a practical, real life checklist for renters in the USA to properly document apartment damage during move-in or move-out. The goal is simple as follows:
- protect your security deposit.
- avoid false damage charges.
- create clear proof if disputes happen.
- record everything in a structured way.
Use this like a printable inspection sheet before unpacking or before leaving the apartment.
QUICK PURPOSE OF THIS CHECKLIST:-
This checklist is for renters in the USA who want to:
- Clearly document apartment condition before and after moving.
- Avoid being charged for damage they did not cause.
- Create photo/video proof for deposit protection.
- Identify hidden issues early (water damage, mold, pests, leaks).
- Compare normal wear and tear vs real damage.
- Have strong evidence in case of landlord disputes.
- Organize everything in a simple room by room system.
Think of this as your deposit protection system in checklist form. Before you leave your apartment, make sure to follow our Move Out Checklist To Get Full Deposit Back to clean, repair, and prepare everything properly for the final inspection.
PREPARATION BEFORE DOCUMENTING DAMAGE:-
Before starting inspection, get everything ready so you don’t miss details.
Essentials to bring:-
- Fully charged phone or camera.
- Flashlight (for hidden cracks and stains).
- Notebook or printed checklist.
- Pen for notes.
- Copy of lease agreement.
- Access to email or cloud storage.
Tip: Always inspect during daytime if possible for better visibility.
ROOM BY ROOM DAMAGE INSPECTION CHECKLIST:-
Go slowly and check every part of the apartment.
GENERAL STRUCTURE (ALL ROOMS):-
- Walls checked for scratches, holes, stains.
- Ceiling checked for water marks or cracks.
- Floors checked for stains or damage.
- Baseboards checked for scuffs or separation.
- Any mold, moisture, or smell noted.
WINDOWS AND DOORS:-
- Doors open and close properly.
- Locks tested on all doors.
- Window glass checked for cracks.
- Window screens intact.
- Blinds or curtains functioning.
KITCHEN INSPECTION:-
Appliances:-
- Stove working properly.
- Oven heats correctly.
- Refrigerator cooling properly.
- Microwave working.
Surfaces And Storage:-
- Cabinets open/close properly.
- No pest signs inside cabinets.
- Counter tops free from cracks or burns.
- Sink area checked for leaks.
BATHROOM INSPECTION:-
- Toilet flush working properly.
- Sink drains correctly.
- Shower pressure normal.
- Bathtub or shower free of cracks.
- Tiles checked for mold or mildew.
- Mirrors and glass not damaged.
ELECTRICAL AND SYSTEMS:-
- All lights working.
- Switches tested.
- Power outlets working.
- Ceiling fans working.
- Heating system working.
- Air conditioning tested (if available).
HOW TO DOCUMENT DAMAGE PROPERLY:-
Good documentation is no doubt a stronger deposit protection.
PHOTO AND VIDEO RULES:-
- Take wide angle photo of every room first.
- Then take close-up photos of any damage.
- Record full video walkthrough of entire apartment.
- Capture floors, ceilings, corners clearly.
- Use natural lighting when possible.
- Enable date/time stamp on photos.
Tip: Always show before and after condition clearly.
HOW TO WRITE DAMAGE NOTES:-
Be specific but not general like:
Wrong Way: Wall damaged.
Correct Way: Small 3 inch scratch on east wall near window, 3 feet above floor.
Wrong Way: Floor stain.
Correct Way: Dark circular stain near living room corner, approx. 10 cm wide.
FLASHLIGHT TECHNIQUE:-
- Shine flashlight sideways across walls.
- This reveals hidden dents, scratches, and paint damage.
- Especially useful in low light or older apartments.
DAMAGE REPORT DOCUMENT CHECKLIST:-
This becomes your official record.
- Fill inspection checklist for every room.
- Attach photos to written report.
- Include exact descriptions of damage.
- Ask landlord to review report.
- Request landlord signature if possible.
- Keep signed copy safely stored.
If landlord refuses to sign, still email it immediately.
AFTER INSPECTION DOCUMENTATION STEPS:-
- Email full report to landlord immediately.
- Attach photos and video files.
- Save all communication in one folder.
- Backup files in cloud storage.
- Label files by date and room.
Tip: Email creates a time-stamped record for disputes.
PRINTABLE DAMAGE INSPECTION TABLE:-
| Area | What to Check | Notes | Done |
|---|---|---|---|
| Living Room | Walls, floor, windows | ☐ | |
| Bedroom | Closet, ceiling, flooring | ☐ | |
| Kitchen | Appliances, sink, cabinets | ☐ | |
| Bathroom | Toilet, tiles, plumbing | ☐ | |
| Electrical | Lights, outlets, switches | ☐ | |
| Doors/Windows | Locks, cracks, screens | ☐ |
COMMON MISTAKES TO AVOID:-
- Not taking close-up photos.
- Forgetting hidden areas (under sinks, corners).
- Not recording video walkthrough.
- Writing unclear descriptions.
- Not saving backup copies.
- Relying only on memory.
REAL-LIFE PROTECTION TIPS:-
- Always document before moving furniture.
- Treat inspection like legal proof.
- More evidence means stronger protection.
- Never rely on verbal promises.
- Keep everything organized in one folder.
- Act immediately if you notice damage.
For official renter rights and security deposit guidance in the USA, you can also visit the government housing help page.
FINAL NOTE:-
Proper apartment damage documentation is your strongest protection against unfair charges or deposit loss. The key is to be detailed, consistent, and organized. Always inspect carefully, take clear photos and videos, and write specific descriptions instead of general statements.
Most rental disputes happen not because damage is unclear, but because it was not properly documented at the right time. Good documentation turns confusion into proof, and proof protects your money.